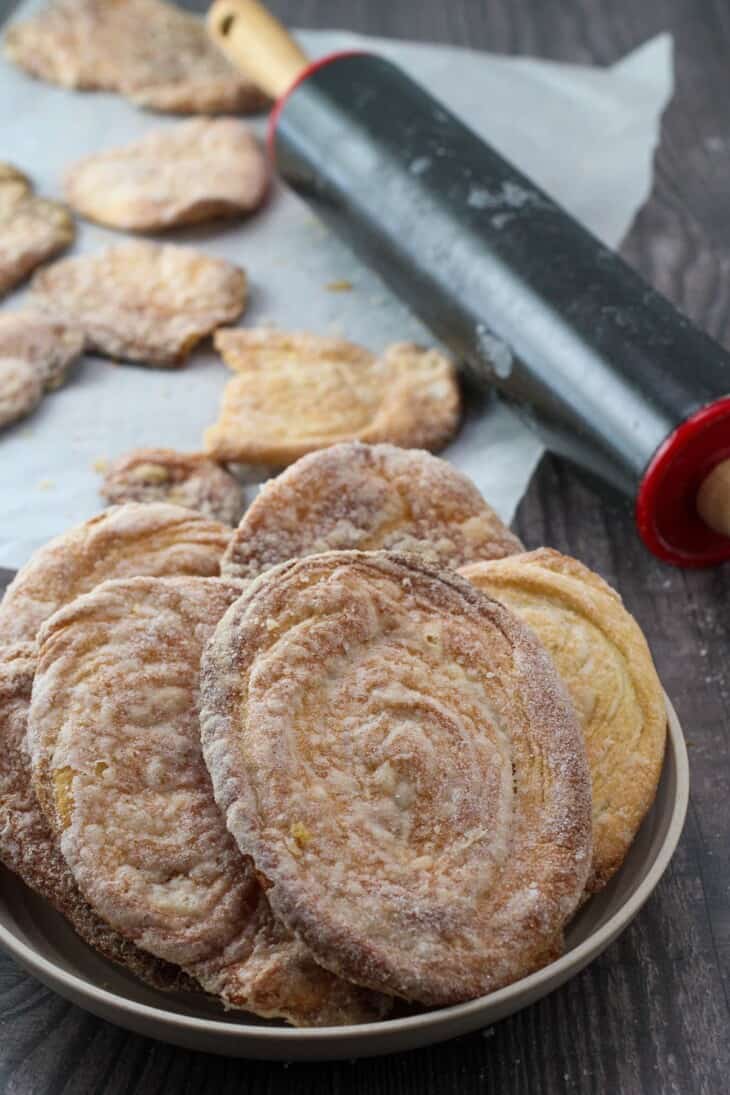
Love crispy, flaky sweet baked treats? Try this Otap recipe! These classic Filipino cookies take a bit of time to make but so worth the effort. They’re delicious fresh from the oven and great with coffee or tea.
Hello, everyone! I hope you’re in the mood for some serious baking because I have for you today a favorite Filipino cookie called Otap. If you’re craving some seriously flaky, sugary, buttery goodies, keep reading because you’re in for a treat!
Otap or utap is a Filipino puff pastry cookie originating from Cebu. It’s thin and oblong in shape and has a brittle texture and a generous coating of sugar.
Making authentic otap involves an eleven-stage process that results in multiple crumbly layers. Our recipe here is a simplified version, but it still creates an absolutely buttery, flaky piece of heaven!
The characteristic texture of the cookie is achieved by a series of rolling and folding the dough. A second dough made of butter, shortening, and flour is spread within the main dough, adding flavor as well as layers.
Don’t let the long list of steps discourage you from trying this recipe! With a bit of arm work and patience, you will be rewarded with a delicious flaky biscuit that is hard to resist!
Check out the step-by-step photos, instructions, and baking tips below to help you through the process. You’ll also find the recipe card with a complete ingredient list!
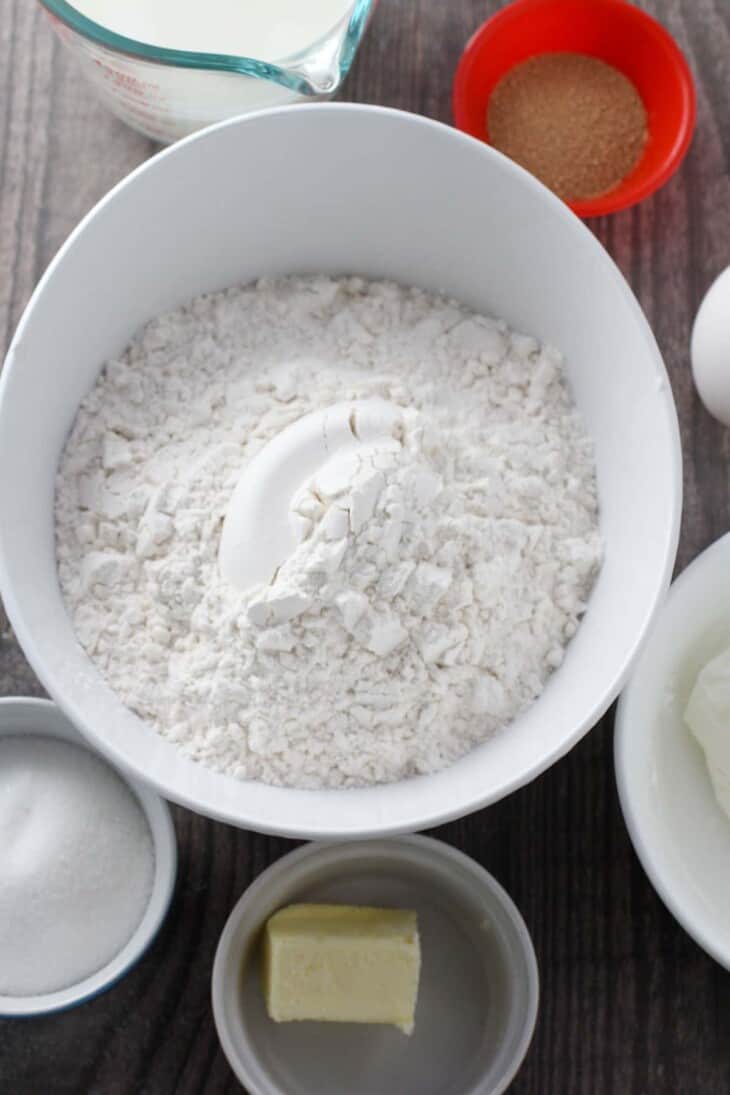
- In the bowl of a stand mixer, add warm milk. Sprinkle the yeast and 1 teaspoon of the sugar. Let the mixture stand for about 5 to 10 minutes or until foamy.
- Add the remaining sugar, salt, egg, shortening, and melted butter. Stir with a wooden spoon until incorporated.
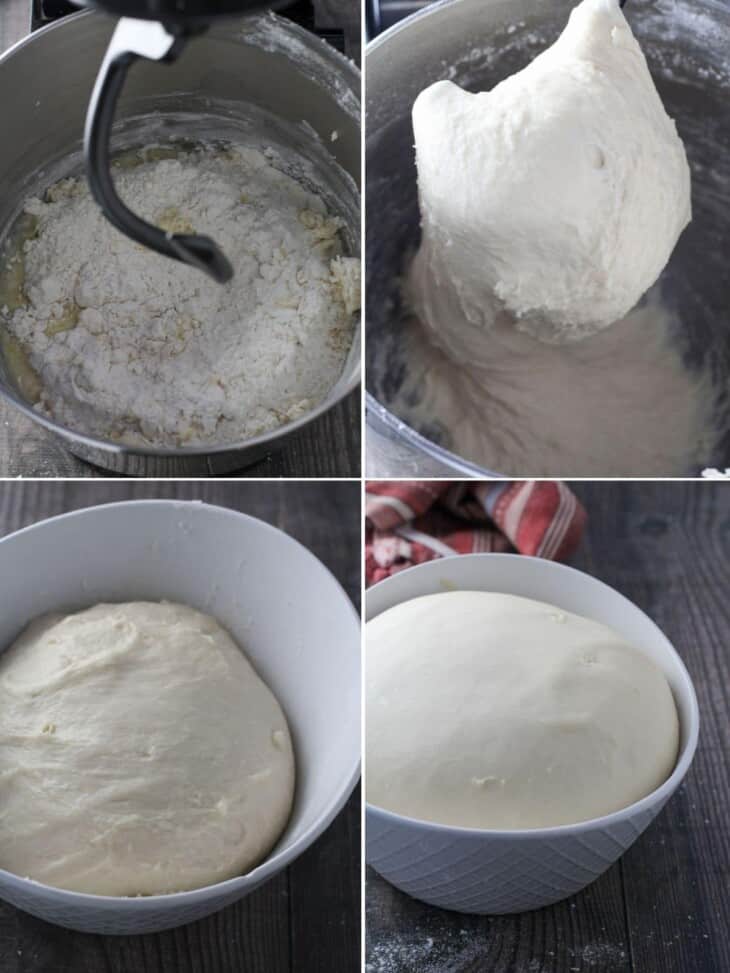
- Add the flour, and using the dough hook, slowly beat the mixture on low until the flour is moistened.
- Turn the speed to medium-high and beat the dough for about 12 to 15 minutes, or until the dough gathers in the center and pulls away from the side of the bowl. If the dough is still very sticky after 10 minutes of kneading, sprinkle a little bit of flour to help with the stickiness.
- Cover the dough in a bowl with a clean kitchen towel. Allow to rise for about one hour or until doubled in size.
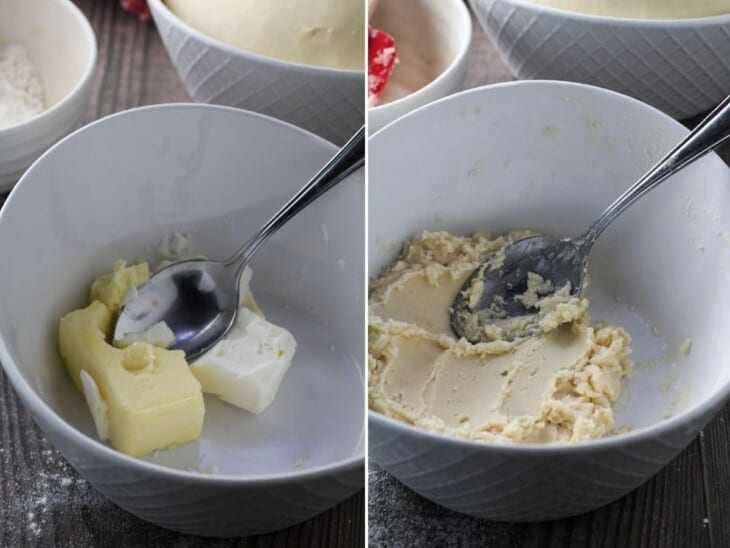
- While the dough rises, make the second dough.
- Combine the butter and shortening until smooth and creamy using the back of a spoon.
- Gradually add the flour and keep mixing until the mixture is soft and smooth.
- Deflate the risen first dough and turn it over on a lightly floured surface.
Using a rolling pin, roll it into about a ¼-inch rectangle, with the long edge of the rectangle facing you. - Fold the upper third of the dough towards the center, then fold the lower third over it. Fold the dough’s left and right sides towards the center to form a rectangular “envelope” shape.
- Roll the dough into a ¼-inch rectangle again. Spread the second dough over the rolled first dough using an angled spatula, ensuring it is evenly distributed.
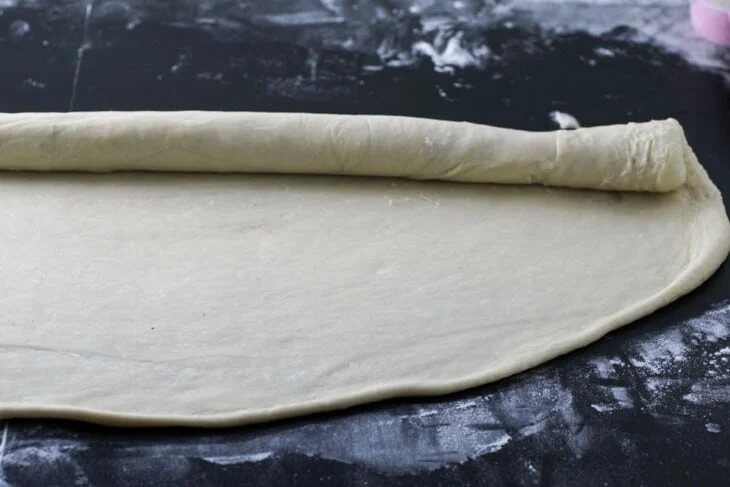
- Fold the dough again in the same way and roll it out into a rectangle as thin as possible without tearing it apart.
Preparing the dough for baking
- Preheat oven to 350 F
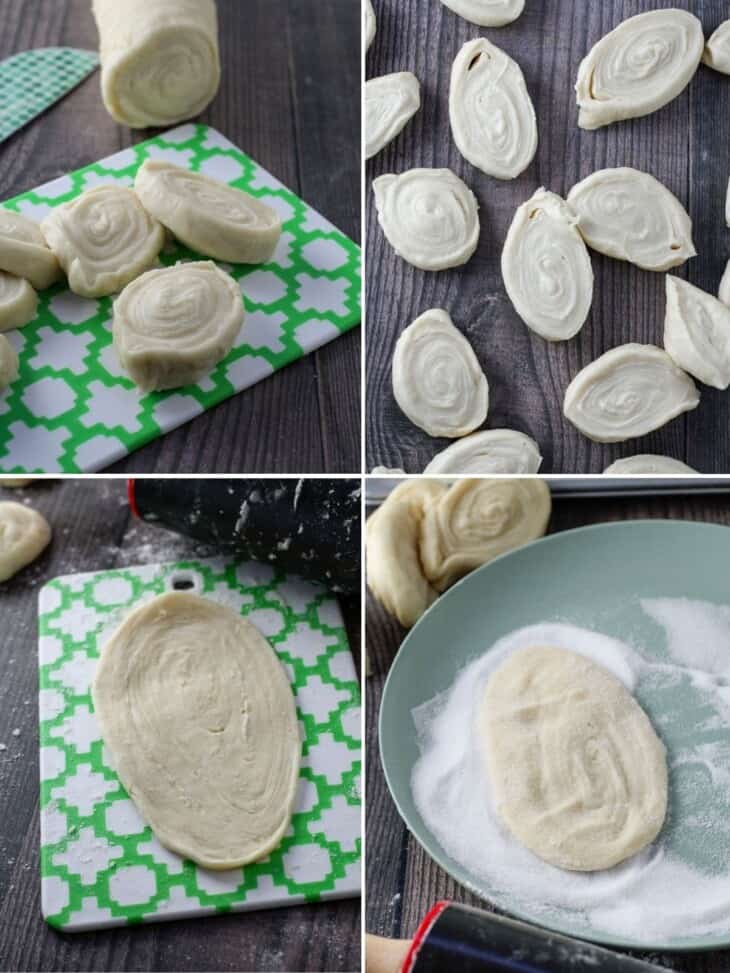
- Starting on the long edge, roll the dough into a tight log.
- Using a knife, slice the dough into ½-inch thick portions. Roll out each portion very thinly (paper-thin) into an oval shape. Lightly dust the rolling pin with flour to keep the dough from sticking.
- Dip the shaped dough into a plate of white sugar to fully coat. Repeat with remaining dough portions.
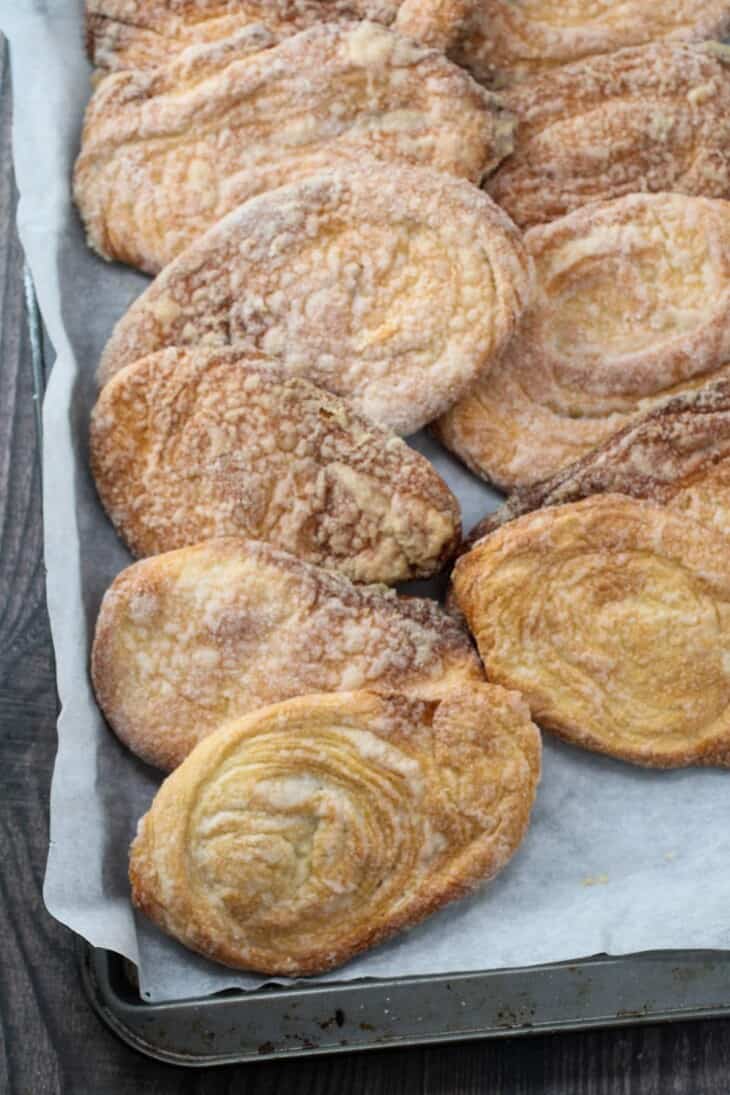
- Arrange in a single layer on parchment-lined baking sheets and bake in the preheated oven for about 5 to 8 minutes or until the top is golden and crisp.
- Allow to cool completely and remove from pan.